Pectoralis Major PNF Stretch | PNF stretch in 3D
Pectoralis Major PNF Stretch: supine (near the table edge), pectoralis major. Preparation, 5 movement phases, points to check and cautions, with a 3D model you can pause and rotate.
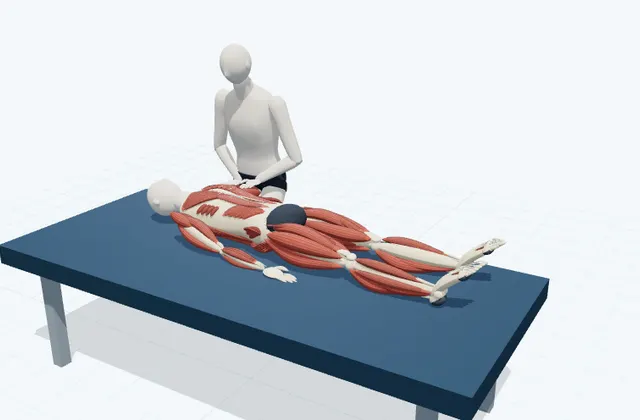
Position and focus
Supine (near the table edge) · Pectoralis major
A PNF stretch for the pectoralis major, combining a gentle push with relaxation.
Starting position
The client lies supine with the left shoulder near the edge of the table. The left arm is out to the side at 90 degrees, with the elbow bent and the forearm pointing towards the head.
Movement phases
1. Move to the stretch
With the elbow bent, lower the arm below the height of the table and stop just before the stretch becomes uncomfortable.
2. Push and hold
The client gently pushes the arm back up towards the ceiling while the trainer holds the limb still for about 6 seconds. Keep breathing.
3. Relax
Ask the client to relax and check that they have fully let go.
4. Move into the new range
Without bouncing, the trainer moves the limb a little further, to a new position where the stretch is felt.
5. Return to the start
Keep supporting as you return to the starting position, and check how the client feels and any symptoms.
PNF method
Hold-relax
At the stretched position the client pushes gently while the trainer holds still. After relaxing, the range is increased.
Contract-relax
The client pushes while the trainer resists and lets the limb move slightly back towards the start. After relaxing, the range is increased.
Using the opposite muscles
After the push and relaxation, the client moves actively in the direction of the stretch while the trainer assists.
In the 3D, orange arrows show where the client pushes or moves and blue arrows show where the trainer resists. PNF method names are defined differently across sources; here they are distinguished by the 3D movement. The push can be gentle. Reports describe contractions of 3–10 seconds (often 6). The 3D timing is not a prescription.
What the trainer checks
Check that there is no pain or numbness at the front of the shoulder and that the lower back is not arching.
Instructor information
Trainer position
Stand on the client's left (the side shown in the 3D) with your feet apart front to back, at a height that suits the table. Move by shifting your body weight rather than holding with the arms alone.
Contact and support
Place the hands on the front of the upper arm (near the elbow) and on the forearm.
Stabilisation
Check that the client is positioned so they cannot fall off the table.
Compensation
Arching of the lower back, trunk rotation, breath-holding.
Easier option
Reduce the range and let the weight of the leg or arm rest on a cushion or the table. Go back to checking a pain-free starting position.
Cues and consent
Tell the client where you will touch and which way you will move, and say, 'Tell me straight away if you feel any pain or discomfort.' Confirm consent before touching and before moving.
Stop criteria
Return to the starting position immediately if the client reports sharp pain, numbness, weakness, a pinching feeling in the joint, dizziness, shortness of breath or anxiety, or asks to stop.
Caution
Work within your qualifications, contract and studio procedures, and check medical history, medication and any pain before starting. This is not a substitute for diagnosis or treatment. Do not perform unfamiliar techniques from the 3D alone. PNF involves muscle contraction. For clients with high blood pressure, a heart condition, pregnancy or recent surgery, get confirmation from a healthcare professional first. Remind the client not to hold their breath while pushing.
These English notes describe a prototype model. Stretch and foam roller lessons have not yet been reviewed by the supervising instructors. They are not medical advice or an individual exercise prescription.
References and scope
Hindle KB et al. Proprioceptive Neuromuscular Facilitation (PNF): Its Mechanisms and Effects on Range of Motion and Muscular Function. J Hum Kinet. 2012 ↗
A review of PNF methods (stretching after a contraction, adding a contraction of the opposite muscles), contraction time (3–10 seconds, often 6) and intensity (reports of similar effects at 20% or 60% of maximum as at 100%).
This lesson was put together for this site from the methods for the same area in the sources above. It has not yet been reviewed by an expert.
Related lessons
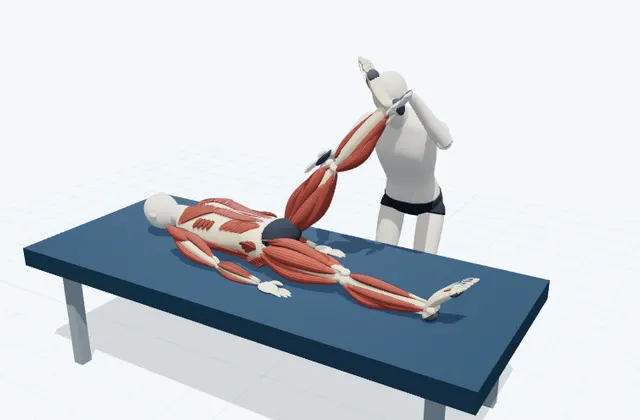
Hamstring PNF Stretch
PNF stretch
Hamstrings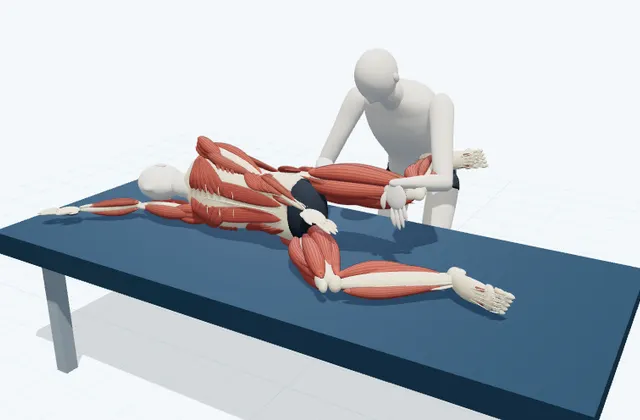
Hip Flexor PNF Stretch
PNF stretch
Iliopsoas and rectus femoris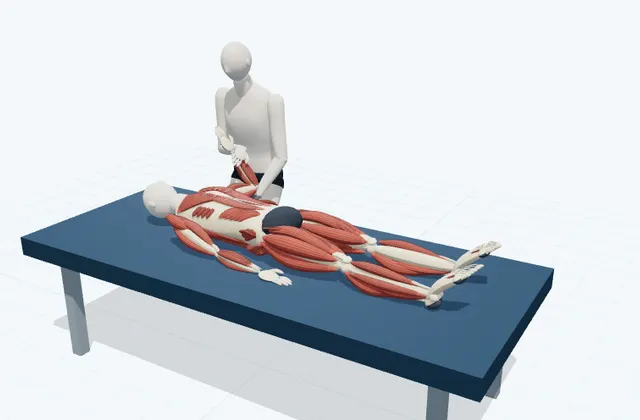
Shoulder External-Rotation PNF
PNF stretch
Shoulder internal rotators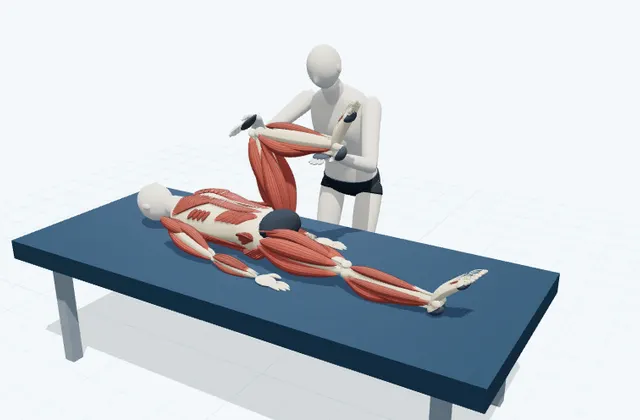
Gluteus Maximus PNF Stretch
PNF stretch
Gluteus maximus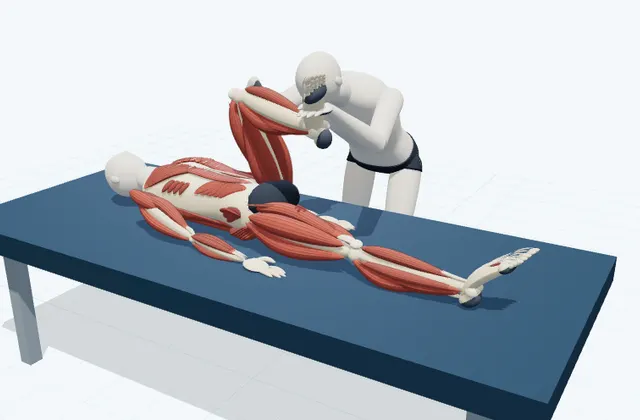
Piriformis PNF Stretch
PNF stretch
Deep external rotators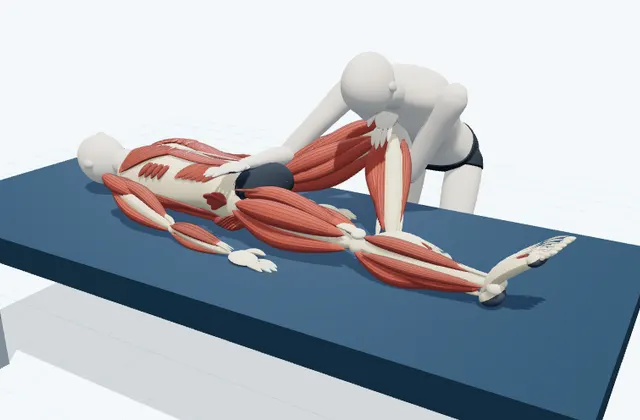
Adductor PNF Stretch
PNF stretch
Adductors