Assisted Knee-to-Chest | Assisted stretch in 3D
Assisted Knee-to-Chest: supine, gluteus maximus and hip flexion. Preparation, 4 movement phases, points to check and cautions, with a 3D model you can pause and rotate.
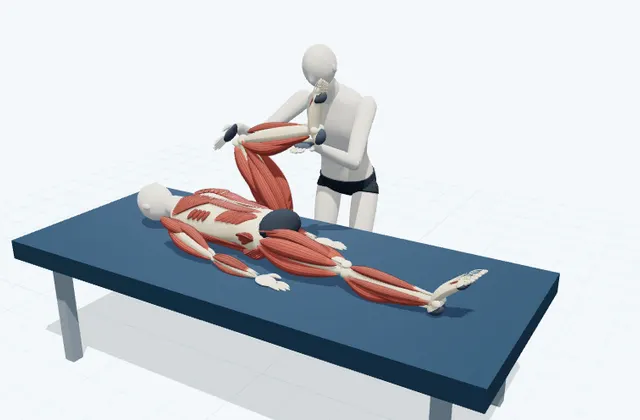
Position and focus
Supine · Gluteus maximus and hip flexion
An assisted stretch for the gluteus maximus and hip flexion, observing contact, stabilisation and compensation separately.
Starting position
The client lies supine with the other leg straight. The trainer stands beside the target leg and places the hands on the front of the knee and the back of the lower leg.
Movement phases
1. Support the leg
Bend the knee and hip and take the weight of the leg in both hands.
2. Bring towards the chest
From the front of the knee, press slowly towards the chest on the same side.
3. Check the response
Check for a stretch in the buttock and any pinching at the crease of the hip.
4. Return the leg
Keep supporting the leg as you return it to the starting position.
What the trainer checks
Check that the other leg is not lifting and that the pelvis is not tucking under excessively.
Instructor information
Trainer position
Stand on the client's left (the side shown in the 3D) with your feet apart front to back, at a height that suits the table. Move by shifting your body weight rather than holding with the arms alone.
Contact and support
Press the front of the knee with the palm and support the back of the lower leg from underneath with the other hand.
Stabilisation
Rest the straight leg on the table. If it lifts, reduce the range.
Compensation
Lifting of the other leg, posterior pelvic tilt, pinching at the front of the hip.
Easier option
Reduce the range and let the weight of the leg or arm rest on a cushion or the table. Go back to checking a pain-free starting position.
Cues and consent
Tell the client where you will touch and which way you will move, and say, 'Tell me straight away if you feel any pain or discomfort.' Confirm consent before touching and before moving.
Stop criteria
Return to the starting position immediately if the client reports sharp pain, numbness, weakness, a pinching feeling in the joint, dizziness, shortness of breath or anxiety, or asks to stop.
Caution
Work within your qualifications, contract and studio procedures, and check medical history, medication and any pain before starting. This is not a substitute for diagnosis or treatment. Do not perform unfamiliar techniques from the 3D alone.
These English notes describe a prototype model. Stretch and foam roller lessons have not yet been reviewed by the supervising instructors. They are not medical advice or an individual exercise prescription.
References and scope
Worcestershire Acute Hospitals NHS — Stretching Exercises with Assistance ↗
For helpers: where to support and how to move the shoulder (raising and opening), elbow and wrist, double knee hug, knee rolls, inner thigh, front of the hip lying on the side, front and back of the thigh, and ankle.
AAOS OrthoInfo — Hip Conditioning Program ↗
Crossing the legs beside a wall to stretch the outer hip, bringing the knee(s) towards the chest (one or both legs), and the back of the thigh lying down (with a towel if the hands do not reach).
Related lessons
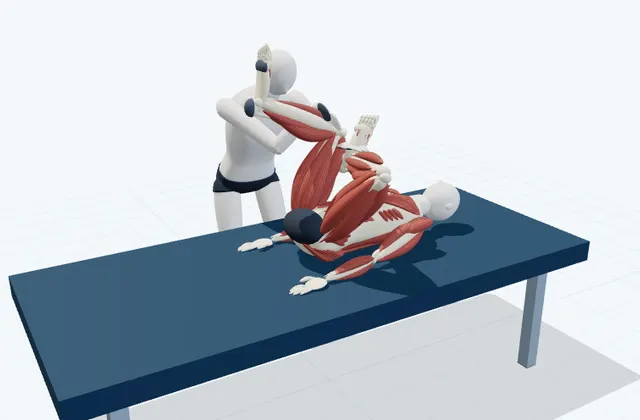
Assisted Figure-Four
Assisted stretch
Glutes and external rotators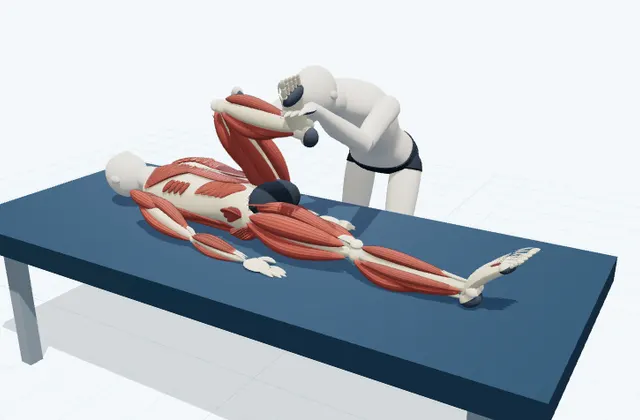
Assisted Piriformis Stretch
Assisted stretch
Deep external rotators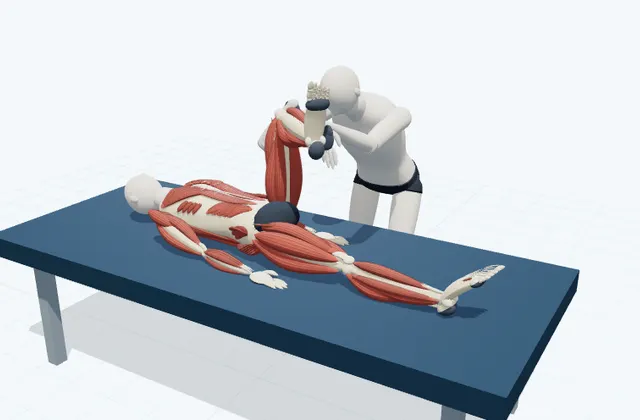
Supported Hip External Rotation
Assisted stretch
Hip internal rotators (external rotation)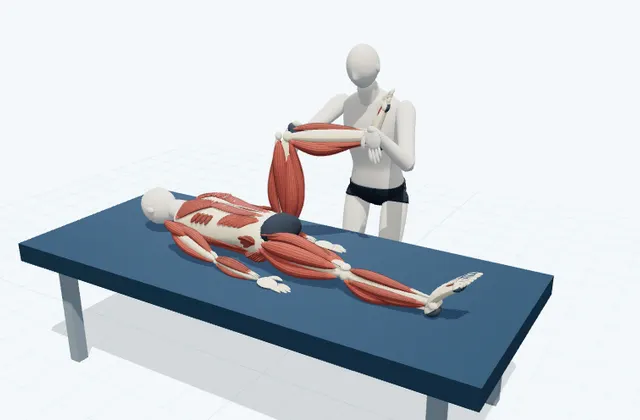
Supported Hip Internal Rotation
Assisted stretch
Hip external rotators (internal rotation)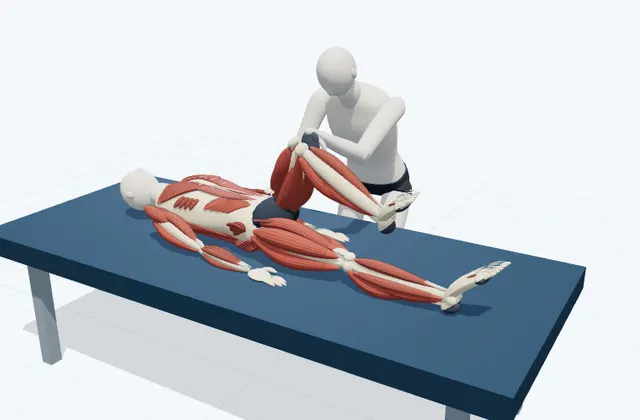
Assisted Lateral Hip Stretch
Assisted stretch
Gluteus medius region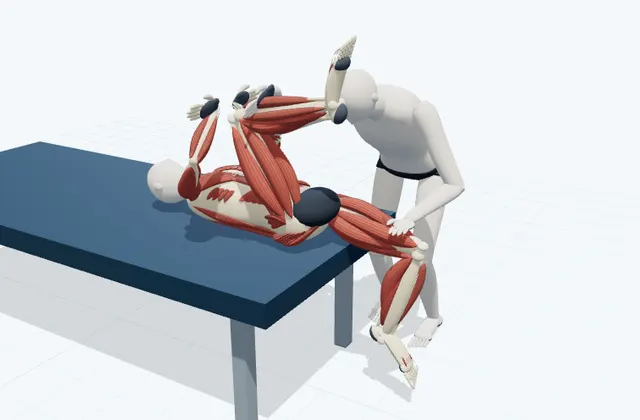
Table-Edge Hip Flexor Stretch
Assisted stretch
Front of the hip